Breaking a nail is not really funny so I am going to show an easy way to repair it without spending much money or time, and maybe you'll even giggle along with me.
You'll need:
Scissors
Toothpick or two
Super Glue/Nail Glue
Empty, dry Tea bag
Base Coat
Top Coat
Medium/Coarse file
Fine/Extra Fine file
Protect the surface of your work area
(acetone just in case)
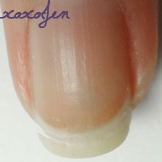
My grandmother was a cosmetology instructor and she taught me this little trick at a very young age, and it totally works! I had the nail repair below applied for three weeks and two polish changes and it held up really very well. I just trimmed and filed the nail as it grew out.
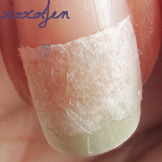
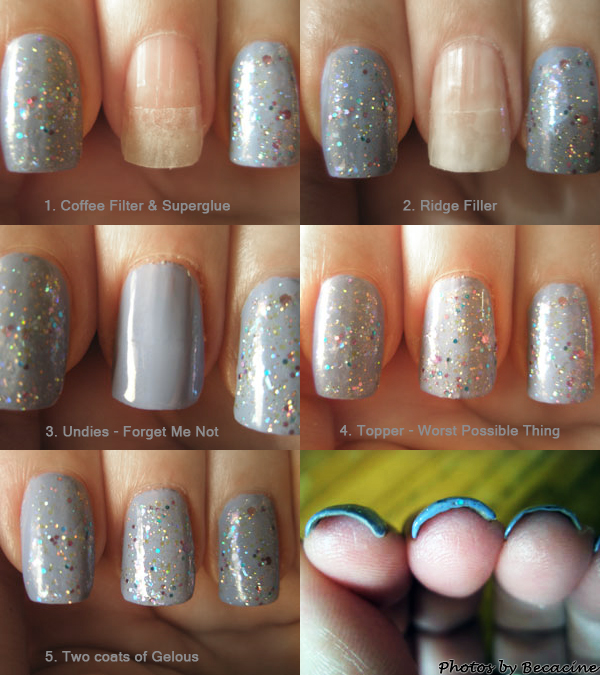
1. Cut a small piece of drt tea bag to cover the break allowing extra on either side of the split, but not touching the skin. The fibrous paper will act as a bandage.
You can use other materials but if they are thin or not as durable, two layers of the 'bandage' is recommended.
2. Apply a drop of super glue near the split and spread it around with a toothpick. Place the 'bandage' on top of the split and pat down with toothpick to saturate. Place a drop or two more of superglue on top of the bandage. Spread it around with the toothpick gently so that the bandage piece becomes saturated.
If the nail tends to pop up or is misaligned, use the toothpick to hold the nail in place until dry. Do not use your own finger as it may adhere!
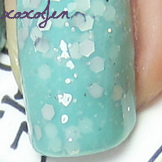
3. After the superglue/bandage has dried, apply base coat and top coat in several layers to thicken the nail up a bit. Be generous in this phase because next is filing.
I use Gelous and Seche Vite and can recommend those as they have worked well for me. If you're used to working with gel or acryllic, you can use those too.
4. Once everything is good and dry, check for bumps and lumps. Use your own judgement to determine whether a coarse or medium file needs to be used. Smooth away those bumps and then use the fine file or buffing file to smooth it all out.
5. Apply polish and viola!
6. When doing a polish change, you may need to repeat steps three through five.


I do something similar but way more messy! I have superglue and part of a tea bag holding together my index fingernail, but its not as seamless as I'd like it to be..
ReplyDeleteI like Orly Nail Bonder to mend & support my index nail that has a fault line. Normally this line is white & runs from the tip to just into the pink of the nail bed, however, every so often the line becomes a crack. Trimming it just pushes the line into the pink more. So I tried the bonder kit & it not only kept the crack from popping, it allowed the nail to grow out & I could cut it w/o the fault line becoming worse. I now apply a layer to the underside of that nail to keep it from cracking & to smooth over the ridge where the line runs. So far so good after several months! It does make that nail a little thicker at the tip, but not so anyone but me notices. LOL Who knows, that fault line may even grow out & be gone some day. I haven't tried it on a horizontal crack yet, but only cuz I usually have the whole nail break off or a chunk get taken out when I break a nail. I like the paper alternative you show as the nail repair strips are rather thick & always show thru to some extent.
ReplyDeleteSadly i had to fix one nail today (swatching hands booo) and I did exactly the same, but instead of the tea bag, I bought silk nail patches, they're not expensive and they are more resistant and smooth than the tea bags!
ReplyDelete