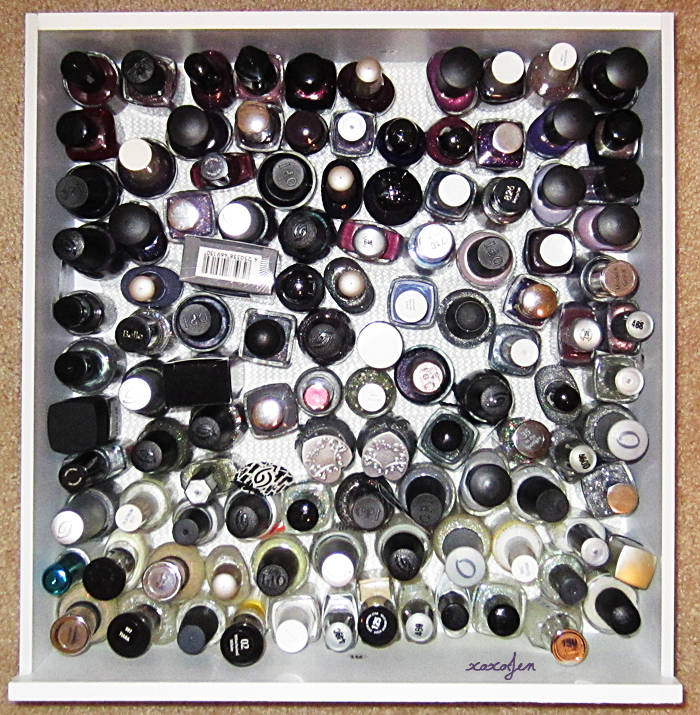
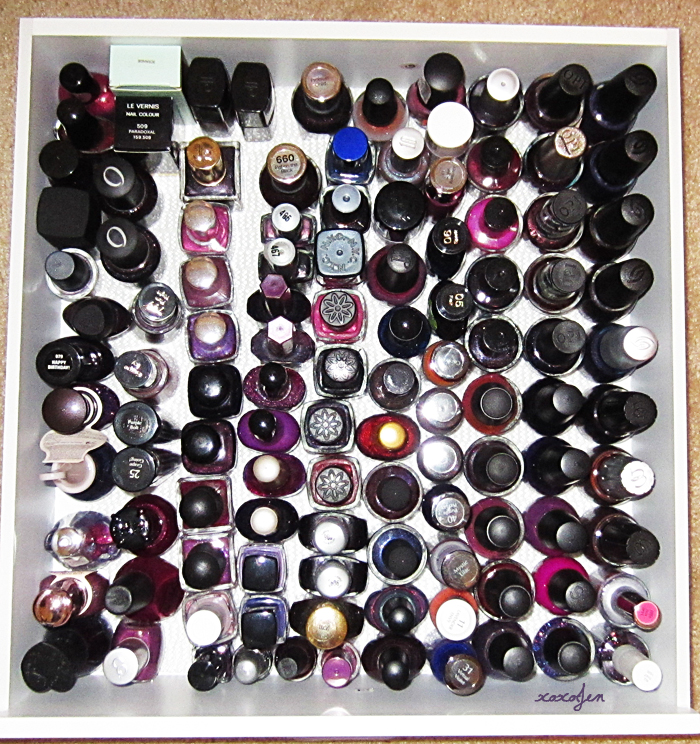
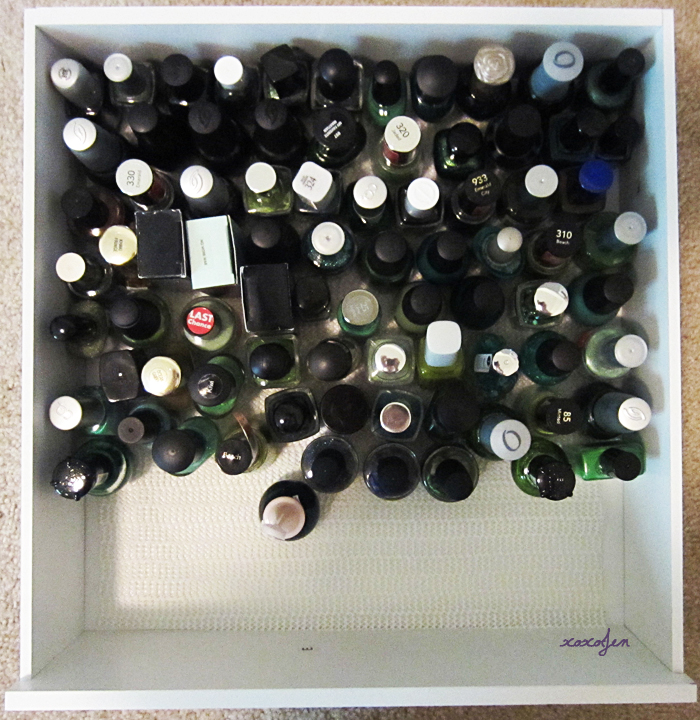
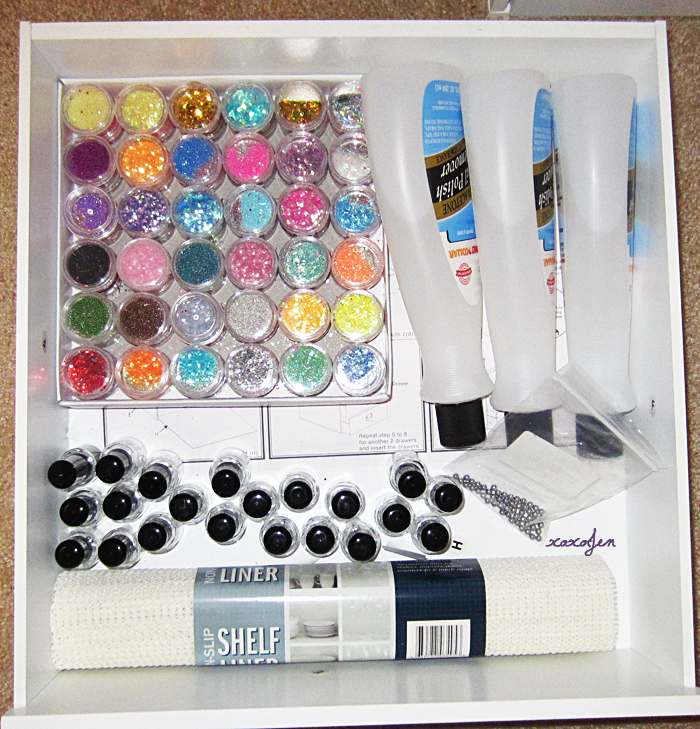
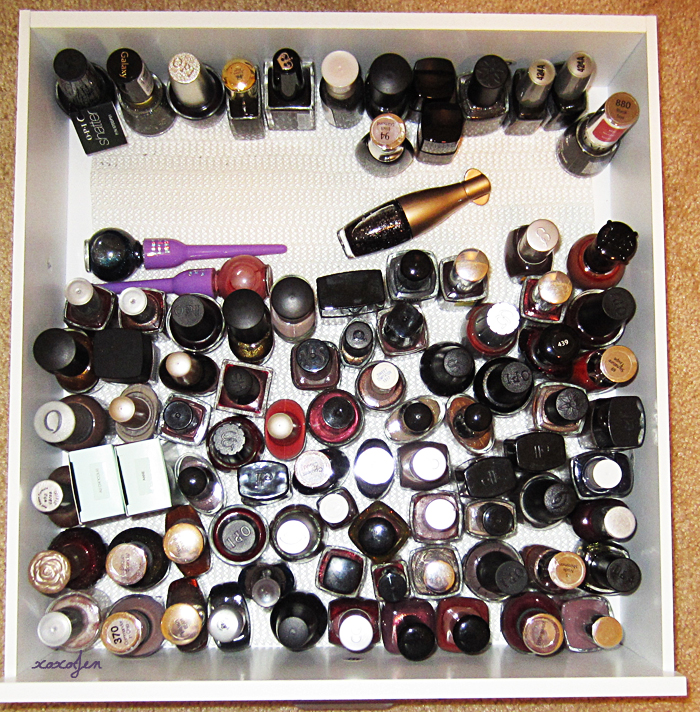
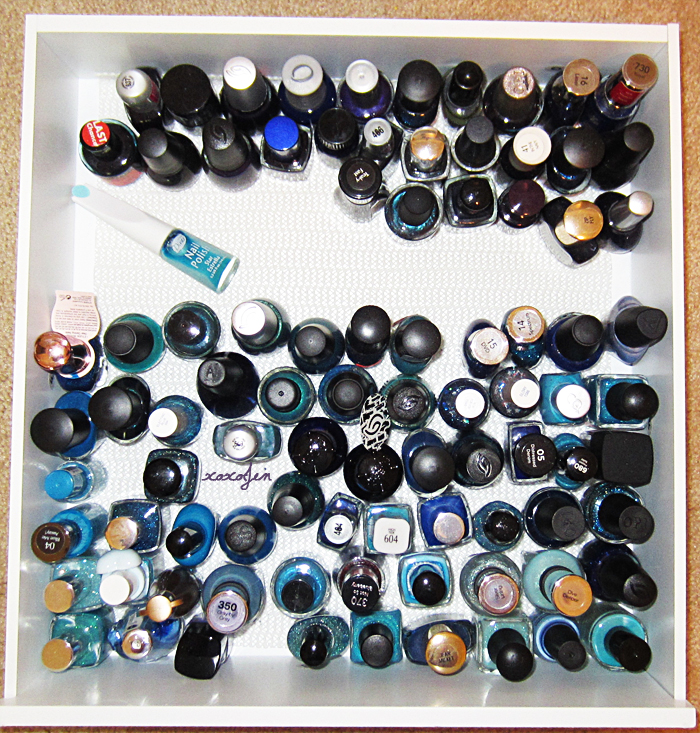
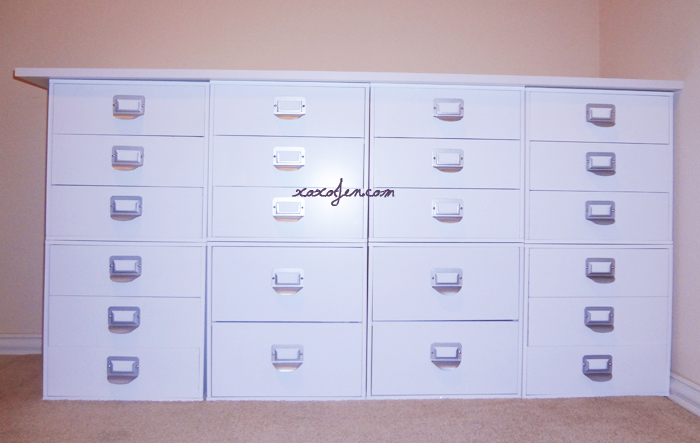
This is short about a hundred bottles or so because I still need to add them on my inventory sheet, swatch and put them away.
My spreadsheet link at Google Docs is in the sidebar to your right if you prefer the written version.
Enjoy!
Pages
▼
Monday, June 25, 2012
Gia rocks! :)
Gia, feel absolutely free to take this image as a little thank you gift!
My friend Gia over at Bottles and Bottles of Polish wrote an article about my Indie Polish shops list recently and then she included it in the BBC weekly round up.
I am so honored and excited about this I can hardly keep from squealing! I love what she wrote and appreciate all the site visits from it! :)
Saturday, June 23, 2012
*Butterfly Kisses*
I wore Butterfly Kisses this past week and I must say I was pleasantly surprised that I loved it so much. See, I'm not much into red polish but this one won me over with its lovely pink jelly base and sparkly glitter!
In the bottle I thought it would have a really bright red base color, but I got a surprise!
When I applied the first layer it went on so well, no digging for glitter or fussing with keeping it off the surrounding skin. The brush was very accurate and the formula was just the right consistency for good control.
I was concerned at how sheer one coat was, but as soon as I applied a second coat it was opaque enough for my liking. The pink jelly base is packed full of sparkly red and pink hexes, smaller holo hexes, tiny holo and even tinier silver glitter and fine silver bar glitters.
The first photo is with two coats of polish, a layer of Gelous and a layer of Seche Vite. The second photo is with Hard Candy's matte top coat.
So far, I have tried twelve of Pam's polishes and every single one of them has been a joy to apply and wear.
Have you tried Whimsical Polish from Pam? What is your favorite?
Friday, June 22, 2012
Mississippi Mud Ya'll!
Doesn't it look delicious?
The cake has dark chocolate cocoa, chopped pecans and coconut shreds inside, which is baked and then topped with marshmallow cream while still hot. Once cooled, its frosted with more dark chocolate.
The recipe for this cake was given to me by a fellow band geek's mom after I told her how wonderful her cake was. That was..well.. lets just say many moons ago. I misplaced the recipe and I thought I had lost it forever without ever getting to make the cake myself. I was cleaning out my cookbook cabinet and spotted a little book that I didn't remember having. It was one of those that you fill with your own favorite recipes. I opened it up and lo and behold there was Mississippi Mud Cake and my Grandpa's meatloaf recipe!
Have you ever found something you thought was gone for good?
Wednesday, June 20, 2012
The Dr. is in! (and so is purple!)
Today I have a beautiful polish to share with you!
Simply packed with glitter in various colors and sizes of micro blue, small red hex, and medium silver hex.
Its Seuss' hat all swirled together in a blue base that matches the color of the book cover.
Pam really nailed the color palette and made the most beautiful Seuss I've ever seen. :)
Lets take a look, shall we?
How about a closer look?
I wore it for a week and let me tell ya, I had to persuade myself to remove it!
Its so unbelievably gorgeous!
The first three days I wore two coats topped with Seche Vite. Just look at the depth and shine!
On about day four, I topped it with Hard Candy's matte top coat for a more cartoony / book look:
I recently changed the colors of my blog from a brown/tan/blue theme to purple and green. Ah to be back in purple! <3
Thank you for visiting, I would love to hear what you think of the polish and the new color theme. :)
Thursday, June 14, 2012
How to Remove balls from your polish
I was so taken by Chalkboard nails photo of Windestine's black and white polishes that I had to have them!
They've arrived and had their balls removed because Freda sent a proactive email to let me know that the balls were not stainless. Non-stainless balls will corrode over time and ruin the polish. This rarely happens in the indie world any more, but if you're buying second hand, this article may be helpful to you!
I also removed them from my Enchanted polishes.
The best way I have found to remove the balls is take off the lid, cover the bottle opening/mouth with a plastic baggie or saran wrap, place a strong magnet on top of the baggie over the mouth to sort of seal it. Holding the magnet against the mouth of the bottle with your hand turn the bottle over and listen for the balls to click to the magnet. Tip it back over and carefully pull the magnet away from the bottle mouth, the balls and bag will come with it, turn the baggie out so the balls are inside it. It takes about a minute and is virtually mess free.
Sunday, June 3, 2012
Lynnderella: Connect The Dots
Saturday, June 2, 2012
Georgia Peach, Kee Wee, Saturday Morning Cartoons and a Broken Camera
My beloved camera broke recently and was taking photos like this:
I nearly cried, because it was a gift from my boyfriend and I've been using it for six years now.
All the images below are some of the last ones that were taken before it broke. I'm still playing with the new camera, and so far I have been pretty frustrated with it. I think I am finally figuring things out and have posted a photo amongst those below for you to see. :)
Whimsical Ideas by Pam - Georgia Peach Fuzz
Peach jelly base with copper hex and micro glitter
Swatch with matte top coat:
Swatch with Girly Bits Shift Happens on top. Shift Happens caused some major shrinkage of this polish, I'm curious to see how it reacts with others.
This is the photo that was taken with my new camera and I must say I am thrilled with the color accuracy, but need to work on sharpness.
Whimsical Ideas by Pam - Kee Wee
Two sizes of Silver hex glitter, Green micro glitter and silver micro glitter in a lime green jelly base
Swatch with matte top coat:
Whimsical Ideas by Pam - Saturday Morning Cartoons
Red, Green, Blue and Silver hex glitter among blue micro glitter in a royal blue jelly base
Swatch with matte top coat:
My own creation:
Charcoal jelly base with coppery shimmers. I was inspired by my big bathroom picture window at night. Through it's textured glass, I could see the street light down the block filtering in, all glowy and coppery. I've included copper micro glitter and white flakes.
I don't have a name for this one yet, let me know if you have ideas!
I nearly cried, because it was a gift from my boyfriend and I've been using it for six years now.
All the images below are some of the last ones that were taken before it broke. I'm still playing with the new camera, and so far I have been pretty frustrated with it. I think I am finally figuring things out and have posted a photo amongst those below for you to see. :)
Whimsical Ideas by Pam - Georgia Peach Fuzz
Peach jelly base with copper hex and micro glitter
Swatch with matte top coat:
Swatch with Girly Bits Shift Happens on top. Shift Happens caused some major shrinkage of this polish, I'm curious to see how it reacts with others.
This is the photo that was taken with my new camera and I must say I am thrilled with the color accuracy, but need to work on sharpness.
Whimsical Ideas by Pam - Kee Wee
Two sizes of Silver hex glitter, Green micro glitter and silver micro glitter in a lime green jelly base
Swatch with matte top coat:
Whimsical Ideas by Pam - Saturday Morning Cartoons
Red, Green, Blue and Silver hex glitter among blue micro glitter in a royal blue jelly base
Swatch with matte top coat:
My own creation:
Charcoal jelly base with coppery shimmers. I was inspired by my big bathroom picture window at night. Through it's textured glass, I could see the street light down the block filtering in, all glowy and coppery. I've included copper micro glitter and white flakes.
I don't have a name for this one yet, let me know if you have ideas!